Why Does My Robot Vacuum Stop Halfway Through a Clean? 10 Real Reasons (and How to Fix Each One)
You set the robot going before work. You come home expecting clean floors. Instead, the kitchen is spotless, the living room is untouched, and the robot is sitting in the hallway, silent, like it clocked...
-
0 comments
-
421
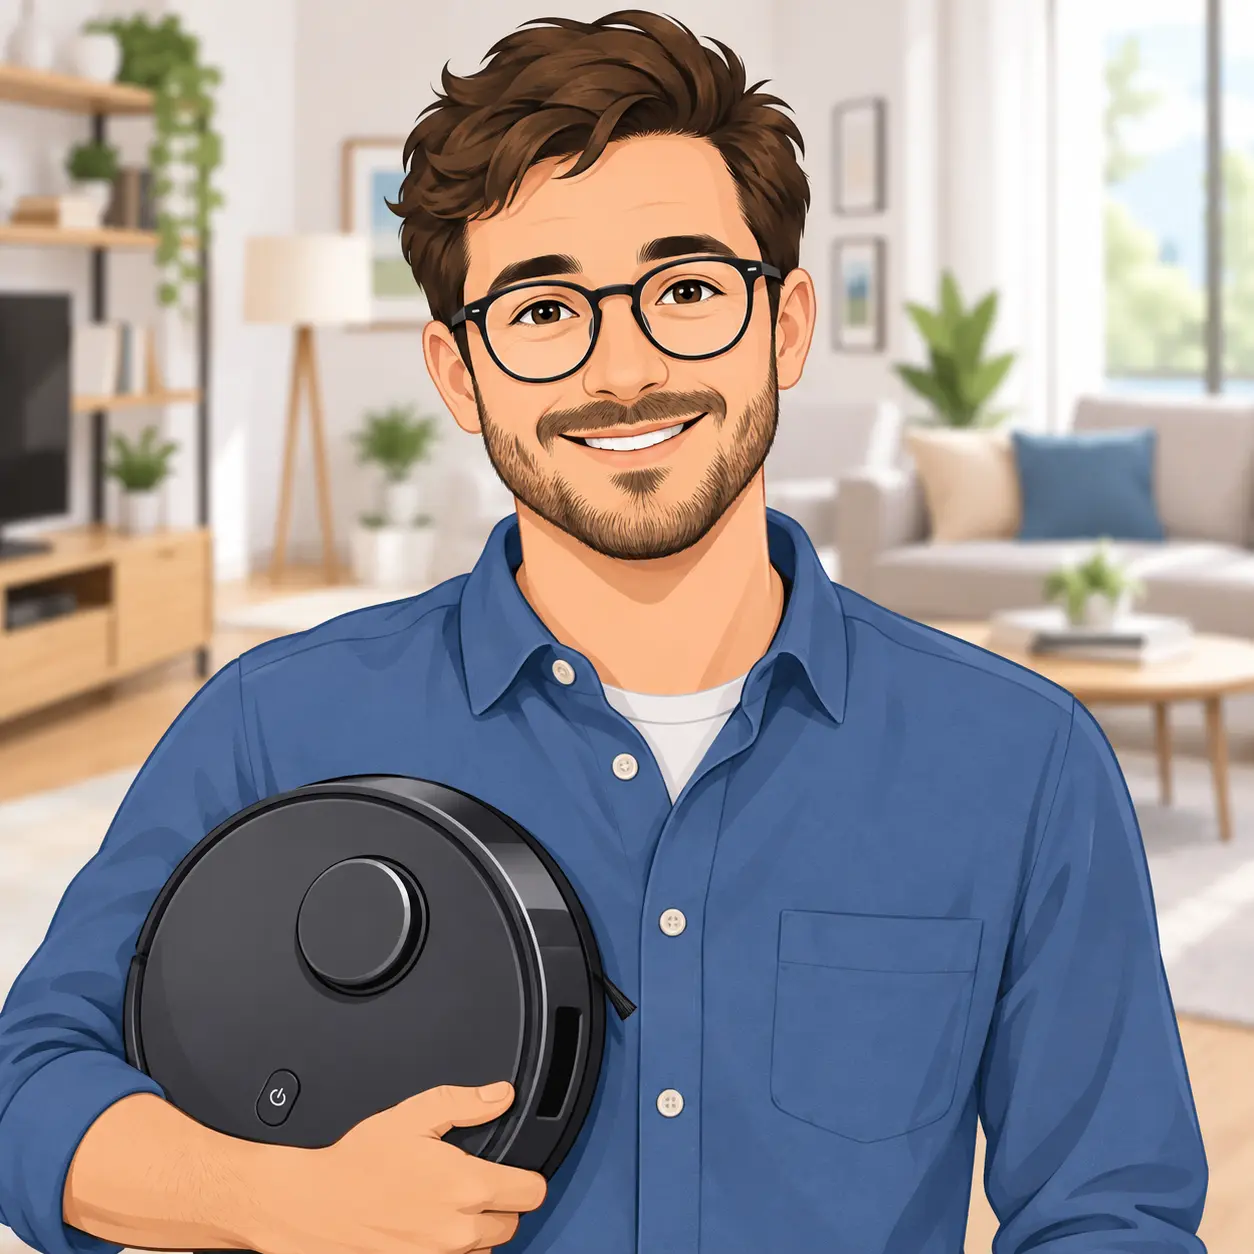

You set the robot going before work. You come home expecting clean floors. Instead, the kitchen is spotless, the living room is untouched, and the robot is sitting in the hallway, silent, like it clocked out early.
Or maybe it’s even more confusing. The robot is back on its dock, green light glowing, as if everything went to plan. But half the house still has crumbs on the floor.
If that sounds familiar, you’re not alone. “Why does my robot vacuum stop halfway through a clean?” is one of the questions I see most on the internet. And here’s the good news: in most cases, nothing is broken. The robot is either doing something on purpose that nobody explained to you, or it’s hitting a small problem you can fix in about ten minutes.
What you’ll read below comes from brand support pages, repair guides, and independent testers, plus my own take on what matters most.
Key Takeaways
- Many “stops” are on purpose. Robots head back to recharge, wash their mop pads, or avoid something their sensors think is a staircase.
- Low battery is the top cause, and an aging battery makes it worse over time.
- Dark rugs can look like a cliff to some robots, which makes them freeze or back away.
- Hair, cables, rug fringe, and dirty sensors cause most of the true “stuck” stops.
- Dock placement and app settings (like Do Not Disturb) can quietly stop your robot from finishing the job.
First, Figure Out What Kind of “Stop” You’re Dealing With
Here’s the thing: “it stopped halfway” can mean three very different problems. Before you start taking your robot apart, figure out which one you have. It’ll save you a lot of guesswork.
Type 1: It went back to the dock mid-clean. This is usually a planned break to recharge, empty, or wash the mop. It may or may not come back out to finish.
Type 2: It stopped somewhere in the house and won’t move. This is the classic “stuck” situation. Think cables, rug fringe, a high threshold, or a dark rug confusing its sensors.
Type 3: It shut down with an error, a flashing light, or a warning in the app. This points to something like a blocked brush, a full bin, dirty sensors, or a failing part.
Keep your type in mind as you read. Each reason below tells you which kind of stop it usually causes.
Quick finder: what kind of stop is it?
Tell me what you found, and I will point you to the most likely causes.
Reason 1: The Battery Ran Low (and the Robot Went to Recharge)
This one catches a lot of people off guard. Your robot isn’t quitting. It’s taking a lunch break.
Many robots are built to head back to the dock when the battery runs low, top up, and then carry on. iRobot calls this Recharge and Resume. According to iRobot’s support page on Recharge and Resume, select Roomba and Braava models return to charge when the battery gets low, then go back out and pick up where they left off. Some newer models only charge as much as they need to finish the current job.
So what’s the catch? Timing. Charging takes a while. One Roborock owner described in a Home Assistant GitHub discussion how their robot charged to 80% before resuming, and that could take hours. If you check the floor during that break, it looks like the robot gave up.
How to fix it:
- Give it time. Check back an hour or two later before deciding anything is wrong.
- Look in the app. Most apps show whether the robot is “charging to resume” or “finished.”
- If your house is big, split cleaning into rooms or zones across the day instead of one giant job.
Honestly, if your robot does this, it’s working as designed. The real problem is when it charges and never comes back out. That’s Reason 2.
Reason 2: It Charged but Never Went Back Out
This is the frustrating version of Reason 1. The robot returns to charge, fills up, and then just sits there.
A few things can cause this:
Do Not Disturb mode is on. Many apps have a quiet-hours setting that blocks the robot from running at certain times. In one Roborock community thread about auto-resume, the answer given was that the robot resumes cleaning and the owner should turn off Do Not Disturb to try again. Ecovacs also notes that Do Not Disturb can override scheduled cleaning and some automatic actions. So if your robot docks at 7:55 p.m. and quiet hours start at 8:00, it may wait until morning.
The job got cancelled. If you (or someone in your house) pressed a button or sent an app command while the robot was charging, some models treat that as the end of the job. Check your manual to see how yours handles this.
The feature needs a map. On some models, the smartest version of resume depends on a saved map. iRobot’s support page says its Smart Charge and Resume works on certain Roomba s Series, i Series, and Braava m Series robots, and it needs a customized Smart Map in the app. No map, no Smart Resume.
How to fix it:
- Check your Do Not Disturb hours and move them if they clash with your cleaning schedule.
- Don’t touch the robot or the app while it’s recharging mid-job.
- Make sure your map is saved, and your robot started the job from the dock.
If you run your robot without Wi-Fi, some of these settings may not be easy to change. My guide on how to use a robot vacuum without Wi-Fi covers what still works offline and what doesn’t.
Reason 3: It’s Washing Its Mop (Yes, Mid-Clean)
If you own a robot with a self-washing dock, this one’s probably your answer.
These robots don’t just mop until they’re done. They come back on a timer to rinse their pads, then head back out. Roborock’s support center says the default wash interval is 20 minutes on models like the S8 Pro Ultra and Q Revo. Another Roborock support article lists a 15-minute default. Either way, you can change it in the app’s wash settings.
So if you glance at your robot 20 minutes into a job and it’s on the dock, it might just be doing laundry.
There’s another twist. Roborock also explains that the robot won’t return for mop washing if it didn’t start from the dock, or if the dock doesn’t show on the app map. The same page tells you to check the water tanks, since an empty clean tank or a full dirty tank can stop the process.
How to fix it:
- Wait a few minutes before assuming it stopped for good.
- Fill the clean water tank and empty the dirty one before each mopping run.
- Always start mopping jobs from the dock.
- If the pauses bug you, look for the wash frequency setting. Vacuum Wars’ Roborock app guide explains where the dock settings live.
To be fair, these breaks are a good thing. A robot that mops for an hour with the same dirty pad is just spreading grime around.
Reason 4: A Dark Rug Looks Like a Staircase
This is my favorite “wait, really?” cause, because it surprises almost everyone.
Robot vacuums have cliff sensors on the bottom. They shine light down at the floor and check how much bounces back. It’s how the robot knows not to drive off the top of your stairs. The problem is that very dark surfaces soak up that light, so some robots think the floor just disappeared.
iRobot is upfront about this. Its support page says some models may not run on certain dark or black surfaces because the cliff sensors can read that color as an edge. The robot might back away or ask to be moved, and iRobot says there’s no setting to change this. The same page notes that its i Series and s Series use a dual-beam cliff sensor that handles dark surfaces better. Even so, iRobot’s Error 12 page for the s Series still lists “on a dark surface” as a reason the robot may stop.
The telltale sign? Your robot always stops at the same rug. Often it’s a black rug, a rug with a dark border, or a patterned rug with bold black stripes.
How to fix it:
- Wipe the cliff sensors first. iRobot suggests a clean, dry cloth or lightly dampened melamine foam. Dust makes false readings worse.
- Block the rug with a no-go zone or a physical barrier if cleaning it isn’t important.
- If you’re shopping for a new rug, lighter colors are the easy win.
Now, a warning. You may see tips online about covering the cliff sensors with tape. Please don’t. iRobot specifically says not to block or disable them, since that can create an unsafe situation. If you have any stairs, a robot with no working cliff sensors can drive right off the edge.
Reason 5: It’s Physically Stuck
We’ve all been there. You find the robot wedged under the couch, tangled in a phone charger, or perched on a door threshold like it’s stuck on a fence.
The repair site iFixit has a handy troubleshooting page for robots that get stuck or stop mid-clean. It lists the usual suspects: high thresholds, loose cables, rug fringe, and small objects like socks, toys, and shoes. iFixit calls cables and fringe real traps, and I agree. A charger cord is basically a lasso for a spinning brush.
Thresholds are sneaky, too. Every robot has a limit on how high a bump it can climb, and your manual should list it. Brand claims don’t always match real homes, either.
Furniture can also cause trouble. A couch that’s just a little too low can let a robot in but pin it before it gets out.
How to fix it:
- Do a two-minute floor sweep before each run: cables, socks, toys, and phone chargers.
- Tuck cables into clips or behind furniture.
- Flip rug fringe under, or block fringed rugs with a no-go zone.
- Check your robot’s max threshold height and compare it to your doorways.
- Use no-go zones for the spots where it always gets trapped.
If your robot keeps skipping or getting stuck in the same area, my guide on why a robot vacuum keeps missing the same spot goes deeper into those “problem zones.”
The 10 minute fix checklist
Work through these before you decide your robot is broken. Your progress is saved on this device.
All done. Start a full clean now and watch where it slows down or stops.
Reason 6: Hair Is Wrapped Around the Brushes or Wheels
What if your robot isn’t stuck on anything, but it still stops with a brush or wheel error?
Hair is the likely culprit. Long hair and pet fur love to wind around the main brush, the side brush, and especially the little front caster wheel. The hair often wraps around the wheels and caster, and on many models you can pull the caster out to clean it. When a brush or wheel can’t spin freely, the robot may shut down to protect its motor.
In my experience, this is the cause people check last, even though it’s one of the easiest to fix.
How to fix it:
- Turn the robot over and check the main brush, side brush, and all wheels.
- Pull out the caster wheel if your model allows it, and clear the hair from the axle.
- Use scissors or a seam ripper to cut through tight wraps. Many robots include a small cleaning tool, too.
- Make this a weekly habit if you have pets or long hair in the house.
Pet owners, this part matters most for you. If hair wraps are a constant fight, take a look at my list of the best robot vacuums for pet hair. Anti-tangle brushes make a real difference.
Reason 7: The Bin Is Full, or the Airflow Is Blocked
A robot vacuum is basically a small fan with a dustbin attached. When the bin is packed, the filter is clogged, or something is jammed in the suction path, air can’t flow the way it should.
Ecovacs explains that a full bin or dirty filter makes the robot work harder, and if airflow stays blocked, the robot may shut down as a safety response to avoid overheating. It also mentions that small debris, like toy pieces or paper scraps stuck in the inlet, can make a robot pause, stop, or head home early.
Think of it like trying to breathe through a stuffed-up straw. Eventually, you have to stop.
How to fix it:
- Empty the bin, even if you have a self-emptying dock. Docks can miss a stubborn clump.
- Tap out or replace the filter.
- Check the suction opening for anything stuck inside.
- Keep the dock out of direct sun. Ecovacs warns that heat raises the risk of overheating.
Reason 8: The Sensors or Bumper Are Dirty or Stuck
Your robot “sees” your home through a handful of sensors: cliff sensors underneath, a bumper up front, and often a laser tower or camera on top. When any of these get dusty or jammed, the robot can get confused and stop.
How to fix it:
- Wipe the cliff sensors, the bumper, and any camera or laser window with a soft, dry cloth.
- Press the bumper in a few times. It should spring back right away.
- Check the charging contacts, too. Dirty contacts can stop a robot from charging properly, which leads right back to Reason 1.
Reason 9: It Can’t Find Its Way Home (or Lost Its Map)
Sometimes the robot stops because it’s lost. Either it can’t find the dock to recharge, or its map no longer matches the room.
The dock matters more than most people think. iRobot’s placement guide recommends at least 1.5 feet of space on each side of the base, 4 feet clear in front, and 4 feet from any stairs. It also suggests a level spot against a wall. If the path is crowded, the robot may not make it back to recharge, and it runs out of battery in the middle of the floor.
iRobot’s docking error page lists a few more causes: a base that got unplugged or bumped during the run, dirty charging contacts, or clutter around the base.
Maps can go wrong, too. If you rearranged furniture, moved the dock, or carried the robot to another floor, its saved map may confuse it. I suggest restarting the robot, deleting saved maps if needed, running a fresh mapping cycle, and checking for firmware updates.
How to fix it:
- Give the dock plenty of open space, and keep it plugged in and in one spot.
- Clean the charging contacts on both the robot and the dock.
- After a big furniture change, remap your home.
- Update the app and firmware.
Not sure where your dock should go? My guide on using a robot vacuum on multiple floors before you start carrying it up and down the stairs.
Reason 10: The Battery (or a Motor) Is Wearing Out
If your robot used to finish the whole house and now quits after two rooms, age might be catching up.
Batteries don’t last forever. eufy’s battery guide says a 2 to 5 year lifespan is typical for lithium-ion robot batteries, and many are rated for about 300 to 500 charge cycles. It also says the battery is usually the first part to fade, and shorter run times are the first clue. Ecovacs lists similar signs: shorter runs, slower charging, or stopping early even after a full charge.
Motors can wear out, too; a failing wheel or brush motor can stop the robot even when everything looks clean. You might see it struggle to move, fail to turn, or stop for no visible reason. That usually needs a repair.
How to fix it:
- Compare today’s run time to what it used to be. A big drop points to the battery.
- Check your manual to see if you can replace the battery yourself. Some brands say only a trained technician should do it.
- If the robot stops with no blockage and all the easy fixes failed, contact the brand’s support team, especially if you’re still under warranty.
A Quick “Match the Symptom” Cheat Sheet
Not sure where to start? Match what you’re seeing to the most likely cause.
| What you see | Most likely cause | Try first |
|---|---|---|
| Back on dock, half the house undone | Recharging or mop wash | Wait, then check the app |
| Charged but never went back out | Do Not Disturb or cancelled job | Check quiet hours |
| Always stops at the same rug | Dark surface or fringe | Clean cliff sensors, add a no-go zone |
| Frozen in the middle of a room | Cable, sock, or threshold | Clear the floor |
| Brush or wheel error | Hair wrap | Flip it and clean the brushes and wheels |
| Stops sooner every month | Aging battery | Compare run times |
| Dies before reaching the dock | Dock placement or map issue | Clear space around the dock |
Pros and Cons of Robots That Pause and Resume
Since so many “stops” are really planned breaks, it’s worth knowing the honest upsides and downsides of this behavior.
Pros:
- Big homes get cleaned fully, even if one charge isn’t enough.
- Mop pads stay fresher, since the dock rinses them during the job.
- The battery isn’t pushed to zero on every run.
- You don’t have to babysit the robot or restart it by hand.
Cons:
- It’s confusing if nobody tells you it’s happening.
- Charging breaks can stretch a single clean across several hours.
- The robot may finish while you’re home, which is annoying if you wanted peace and quiet.
- Settings like Do Not Disturb can block the resume without warning.
- Some smart resume features only work with a saved map.
- Mop-wash breaks only happen when the robot starts from the dock.
When Fixing Isn’t Enough: What to Look for in Your Next Robot
Let’s say you’ve tried everything. The battery is tired, the robot is old, and the stops keep coming. At some point, replacing it makes more sense than chasing another fix.
If that’s where you are, these are the features I’d prioritize to avoid mid-clean stops next time:
- Recharge and resume. It should be listed clearly on the product page. It’s the difference between “half done” and “done.”
- A bigger battery or faster charging. Especially if you have a large home.
- Better cliff sensors or dark-floor handling. If you have dark rugs, read owner reviews that mention them specifically.
- Anti-tangle brushes. A must for homes with pets or long hair.
- Strong threshold climbing. Measure your tallest door threshold first, then compare.
- Good obstacle avoidance. Camera or 3D sensor systems help robots dodge cables and socks.
- Replaceable batteries and parts. A robot you can repair lasts longer.
Compared with basic budget models, robots with these features usually cost more. But if stops are ruining your routine, that extra money buys you something you can’t put a price on: a robot you can actually forget about.
My Best Tips Before You Buy (or Blame Your Robot)
A few things I wish every robot owner knew from day one:
- Read the manual’s “status lights” page. A blinking light usually tells you exactly what’s wrong.
- Measure before you buy. Check your couch clearance and your tallest threshold.
- Look at your rugs. Dark, shaggy, or fringed rugs cause more trouble than any other part of a home.
- Watch one full run. Sit with a coffee and see where your robot struggles. You’ll learn more in 30 minutes than from any app.
- Build a weekly habit. Five minutes of cleaning the brushes, bin, and sensors prevents most stops.
- Keep your receipt. If a motor or battery fails early, your warranty is your best friend.
Is It Worth Upgrading?
If your robot is only a year or two old, I’d almost always fix it first. Most of the causes above cost nothing but a few minutes.
But if your robot is several years old, the battery barely makes it through two rooms, and you’re stepping over crumbs every day, it might be time. A newer robot with solid recharge-and-resume, better sensors, and anti-tangle brushes can take this whole headache off your plate. Take your time, compare the features that matter for your floors, and don’t let a flashy suction number distract you.
FAQ
Robot vacuum stopping mid-clean: quick answers
The questions readers ask most.
Final Verdict
Most of the time, a robot vacuum that stops halfway through a clean isn’t broken. It’s recharging, washing its mop, dodging a dark rug it thinks is a staircase, or tangled up in hair or a stray cable. Start with the free fixes: clear the floor, clean the brushes and sensors, check your dock space, and look at your app settings. If your robot is older and the battery keeps fading, that’s when it’s worth thinking about a replacement with better resume features and sensors.
I’d love to hear from you. Where does your robot usually give up: the dark rug, the kitchen threshold, or somewhere totally random? Drop a comment below and tell me what you’re seeing. I read every one, and I’m happy to help you track down the cause.
Author


Latest Posts